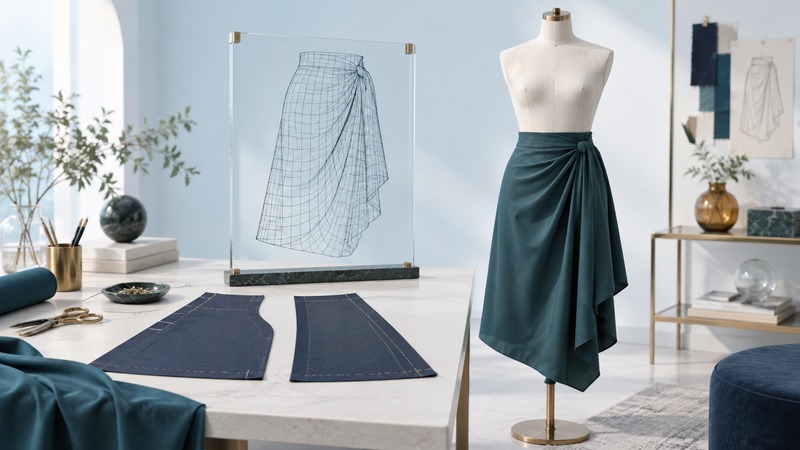
A cloth simulation predicts how a modeled surface moves under selected forces and constraints. Its usefulness depends on the question, geometry, material assumptions and comparison method. For apparel work, begin with a small drape or movement check before expecting a complete garment to behave like a physical sample.
Define the question and inputs
Write a question that the result can answer: does a pattern change remove a visible collision during an arm movement, or does a skirt hem move differently when bending stiffness changes? Separate visual presentation from fit decisions that need measured fabric and physical validation.
Keep the pattern version, units, scale, avatar measurements and pose together. Check seam relationships and initial placement before running the solver. Fabric appearance belongs to rendering; mechanical settings describe how the simulated surface resists deformation. A convincing texture can conceal a poor mechanical setup.
| Input | Why it matters | Check |
|---|---|---|
| Pattern and mesh | Defines the surface and where it can bend | Dimensions, seam relationships and adequate mesh detail |
| Avatar or obstacle | Defines contact and clearance | Scale, shape, pose and starting intersections |
| Material parameters | Controls deformation and motion | Values, units or software convention, and source |
| Solver and collisions | Controls numerical behavior | Quality, margins, self-contact and cached state |
| Reference | Gives the result something to be judged against | A physical sample or clearly defined visual objective |
A documented starting point in Blender 4.5 LTS
The example here uses Blender 4.5 LTS's standard Cloth physics. You should already be able to add and subdivide a mesh, set object dimensions and use the timeline. The Blender cloth introduction explains the mesh-and-modifier workflow and why simulation should run through the frame sequence.
- Create a simple, evenly subdivided cloth surface above a stationary mesh obstacle, with a visible gap and a known scene scale. Save the file.
- Add Cloth physics to the fabric object. Give the obstacle Collision physics, and enable object collisions for the cloth.
- Choose a short frame range and simulate from the beginning. Inspect the early frames for intersections or abrupt motion before adding complexity.
- Save the baseline settings and result. Make one planned change, clear the relevant simulation cache and run again from the same starting state.
For a first learning exercise, use a square draped over a rounded support. Sewn garments add pattern and seam questions that this small exercise deliberately leaves for a later stage.
Compare one parameter at a time
Blender distinguishes tension, compression, shear and bending behavior in its cloth physical-properties settings. Treat a preset as a starting configuration; a familiar fabric name does not establish a calibrated match to a fabric roll.
The Blender cache documentation explains that changed objects or simulations need the cache cleared. Otherwise a comparison may show a stored result instead of the newly intended setup.
Troubleshoot contact before judging the garment
Use the Blender collision settings reference to check both the cloth and collider. A surface that passes through the body suggests a contact or resolution problem to investigate. A garment hovering away from the body can reflect an oversized collision distance.
First correct starting intersections, missing collision participation and scale errors. Then adjust solver quality or contact settings methodically. Increasing a collision margin can reduce penetration while changing the apparent fit. Record that tradeoff instead of presenting the larger clearance as a tailoring result.
Self-collision helps the cloth interact with itself, at additional computational cost. Add it when folds or overlapping garment areas require it. Keep render smoothing distinct from the simulation mesh so a smoother image does not obscure an unresolved contact problem.
Bring the result back to physical evidence
For decisions about an actual garment, compare a sewn sample using the intended fabric, dimensions and construction. Photograph matching poses and inspect seam position, ease, hem behavior and relevant movement. Record discrepancies and investigate inputs before changing a pattern merely to compensate for a poorly matched material model.
Share the software version, pattern revision, avatar measurements, material source and run settings with the result. A video alone leaves reviewers unable to distinguish a pattern change from a changed simulation setup. Use the downloadable log to retain those details.
Specialist apparel tools can organize patterns, sewing and fabric measurement differently. Before choosing software, test the workflow you need with a small representative garment and verify export, collaboration and validation requirements in the current vendor documentation.
Keep a working copy
Cloth comparison log (plain text). Save a copy in a text editor and fill in the fields. The file includes instructions, assumptions and a link back to this guide.