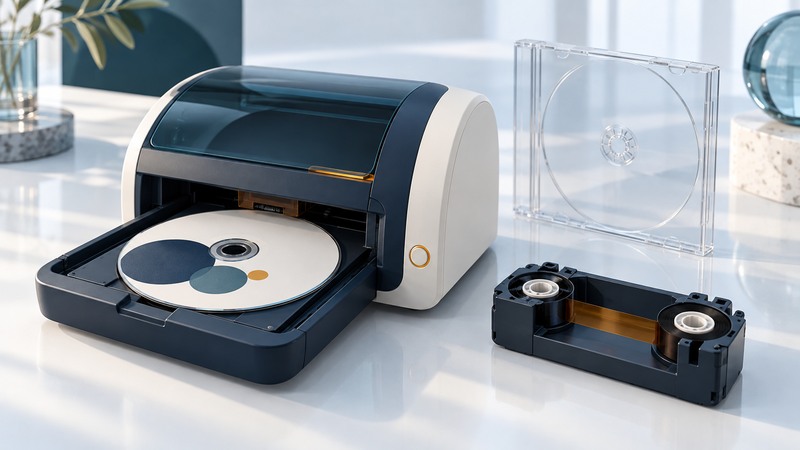
Thermal disc printing uses a ribbon and a compatible disc surface to put identifying text or graphics directly on a CD or DVD. Before reviving an older printer, establish the ribbon, media and software path. Then design within its printable areas and budget from accepted discs, including setup waste.
Match the printing process to the materials
A thermal-transfer printer and an inkjet disc printer use different consumables. Buy media explicitly suitable for the exact thermal printer and ribbon system. A white “printable” surface by itself is insufficient evidence. Keep the manufacturer’s media requirements with the ribbon part number and record the supplier and batch used for testing.
The Signature Z1 is a useful historical example. Primera’s 2004 Z1 user guide specifies smooth, clean surfaces and instructs users to print on blank discs because the printing process could damage stored data. For this model, label the blank disc first, then record and verify the data. Reserve testing for expendable media.
For inkjet equipment, use the separate DVD printing guide. The process and surface requirements from one technology should stay with that technology.
Understand the Z1 layout and software limits
The Z1 manual describes 200 dpi monochrome ribbon printing across four selectable areas: top and bottom at 24 × 60 mm each, left and right at 24 × 40 mm each. Design around those areas instead of assuming a continuous full-disc photograph. Preview the complete label and test whether the smallest required text remains readable.
As checked in September 2026, Primera’s legacy Signature support page lists Z1 software for older Windows versions through Windows 10 and describes a software-key requirement and driver-signature-enforcement workaround for Windows 8/10. That listing establishes a legacy support path, not verified Windows 11 compatibility. Confirm a suitable supported environment with the manufacturer before investing in consumables; disabling a security control should not be treated as an ordinary setup prerequisite on a daily computer.
Make one complete label-to-disc test with the actual computer, application, driver, ribbon and media. Save the template and successful settings. If the printer cannot complete that small job reliably, settle the dependency before planning a batch.
Calculate cost from area yield
Ribbon consumption depends on the printer’s advance mechanism and selected print areas. Use the yield stated for the specific consumable or measure it during a controlled run. A disc with four printed areas may consume more ribbon than a disc with two, even when the text itself is short.
On narrow screens, focus the table and use the arrow keys or swipe to see every column.
| Layout | Theoretical discs | Ribbon cost per disc |
|---|---|---|
| Two areas per disc | 300 ÷ 2 = 150 | $30 ÷ 150 = $0.20 |
| Four areas per disc | 300 ÷ 4 = 75 | $30 ÷ 75 = $0.40 |
These invented inputs are an arithmetic example, not a Z1 yield specification or current price quotation. Replace them with your ribbon cost and verified area yield. Add blank media, operator time, packaging and rejected discs to estimate the completed job.
Include setup and rejection: if 10 of the hypothetical 300 area prints go to setup, 290 remain. At two areas each, that supports 145 production discs. If five are rejected, 140 are accepted. Allocating the whole $30 ribbon to those accepted discs gives $30 ÷ 140 ≈ $0.214 per accepted disc, before every other cost.
Run a pilot before the full batch
- Put the essential identifier and revision in the easiest-to-read area. Check the template against the selected areas, margins and orientation.
- Use an expendable blank from the intended media batch. Inspect text edges, alignment and coverage under ordinary viewing conditions.
- For the Z1, record data after printing as the manual directs. Verify the recorded contents and try the intended playback or reading device.
- Run a small repeatable set. Count used areas, successful labels, rejected labels and data-verification failures separately.
- Approve the layout and cost estimate only after the accepted discs meet the job’s requirements. Retain a sample and the settings with the batch record.
If printing is incomplete, isolate the selected-area settings, consumable compatibility and ribbon condition using the manual’s troubleshooting instructions. Avoid compensating for a materials problem by repeatedly printing over it. For larger recording workflows, the disc-duplication planning guide explains how to keep identification and data verification aligned.