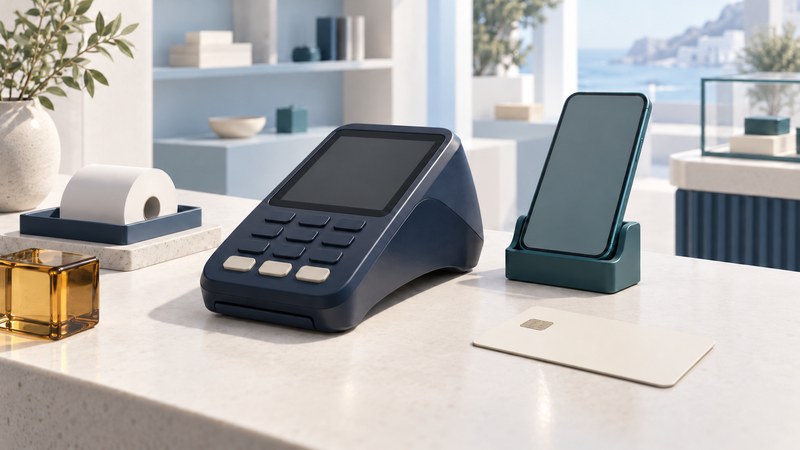
A contactless payment terminal connects a card or wallet tap to a payment application and processor. Choosing one means checking the complete acceptance setup: terminal model, software, merchant account, point-of-sale integration and supported payment methods.
At the counter, separate three questions: did the terminal read the payment device, did the payment receive an approval, and did the sale record receive the final result? Those distinctions make troubleshooting more useful and help staff avoid duplicate charges.
Confirm the complete acceptance setup
EMVCo explains that Level 1 testing covers the communication interface and Level 2 covers payment-processing software functions. An approval addresses a defined product and scope. Ask your processor or acquirer to confirm the exact supported terminal, software configuration and integration for your merchant account.
A standalone terminal usually asks staff to enter the amount; an integrated terminal receives transaction information from the point-of-sale system. For either arrangement, establish how staff associate the payment reference with the sale, handle refunds and reconcile end-of-day records. A reader capable of reading an ordinary RFID tag is a different product from a supported payment acceptance solution.
- Record the exact device model, terminal identifier, software versions and processor support contact.
- Confirm supported card networks, wallets, currencies and local merchant setup.
- Check the required network, power, placement and software update process.
- Agree how canceled, partially approved and uncertain transactions appear in the POS and processor records.
Use the observed symptom to choose the next step
On a small screen, scroll sideways to read all columns.
| Observed result | First check | Useful next action |
|---|---|---|
| No tap response | Correct tap area and terminal ready state | Follow terminal instructions; present one card or unlocked wallet as required. |
| Read followed by decline | Displayed reason and processor response | Follow the processor’s decline guidance and offer a supported alternative. |
| POS waiting after the tap | Transaction reference and current status | Use the supported status check before starting another payment. |
| Terminal offline | Power, approved connection and service status | Use the documented outage procedure; confirm any offline mode and its limits with the provider. |
| Payment approved, sale incomplete | POS linkage and payment reference | Reconcile the existing payment with the sale through the supported recovery workflow. |
Avoid recording full card details in screenshots, notes or support tickets. Use the transaction reference and the provider’s approved support channel. Let the terminal guide cardholder verification; staff should never ask a customer to disclose a PIN.
Resolve an uncertain result before retrying
An interrupted response can leave the till uncertain even though another part of the payment system has processed the request. Adyen’s timeout documentation provides one concrete example: it describes transaction-status checks and distinguishes processing, device and request timeouts. Its timing and recovery instructions apply to that integration; use your own provider’s equivalent procedure.
Build this branch into staff training and integration testing. A button labeled “try again” should have a documented meaning: checking an existing transaction, continuing it, or initiating a new one. Those actions have different consequences.
Test the store workflow before rollout
- Use the provider’s test environment or approved commissioning process with representative terminal and POS versions.
- Verify correct amount and currency, supported taps, cancellation, refunds and receipt linkage.
- Exercise a controlled interruption and confirm the supported status-recovery behavior.
- Check that a repeat request or operator action cannot silently create a duplicate sale or payment.
- Reconcile the POS records with processor results and teach staff the observed messages.
Place the terminal so customers can see prompts and reach it comfortably while staff can assist without viewing private entry. Keep cables secure and inspect devices under your provider’s procedures. Assign an owner for updates, replacement provisioning and documented outages. Recheck compatibility before changing the terminal, POS software or processor.
Keep a working record
Download the editable card terminal working record (plain text). Save a copy for each evaluation. It includes instructions, evidence fields and source links; record unresolved questions with their owner before signing off.
Related reading
Researched and updated October 3, 2026. Recheck the relevant source documents when equipment, software or requirements change.