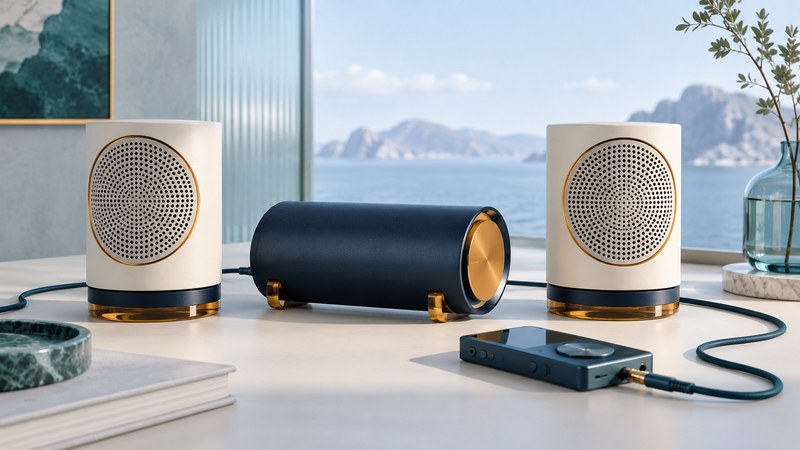
Virgin’s Boom Tube design packs separate speakers around a central hub for transport. Its practical appeal depends on a complete set of parts and a useful listening position. Identify the standard model or the larger EX first, then verify the power and audio arrangement for that specific unit.
Identify the version before matching parts
Electronics designer Gary L. Embler’s firsthand project record distinguishes two systems: the smaller standard Boom Tube has two full-range speakers, while the larger Boom Tube EX combines two mid/high speakers with a subwoofer. That difference is a reason to investigate each system on its own terms.
On a narrow screen, swipe the table sideways or focus it and use the arrow keys.
| System | Documented distinction | What to establish on a used set |
|---|---|---|
| Standard Boom Tube, VS-0200 | Two satellite speakers, speaker hub and four-AA battery arrangement in its quick-start guide. | Matching model label, both speakers, two speaker leads, input cable and intact battery compartment. |
| Boom Tube EX | Larger system with a subwoofer, documented by its electronics designer. | Exact model label, matching speakers and the original power/charging documentation. |
The Virgin VS-0200 quick-start guide, Part 50-0003-00 is the manufacturer reference for the standard model here. It describes an optional AC adapter but does not establish its output rating in the available guide. A replacement adapter needs separate label or manufacturer evidence. EX adapter, charging and replacement-pack specifications have not been established here; obtain the matching documentation before powering an incomplete set.
Lay out the standard VS-0200 signal path
In the VS-0200 guide, the player’s headphone output connects to the hub’s Audio In. Separate leads connect the hub’s left and right outputs to the two speakers. The hub also has a headphone output. Its battery supply uses four AA cells, with alkaline recommended. Read the battery polarity markings and the complete manual before use.
Make an inventory with a photograph of each label and connection. Keep the source cable separate from the two speaker leads in your notes: they have different roles even when plugs look alike. For a phone or computer, establish an actual audio-output path to the hub; if an adapter is needed, verify that it supplies the required audio output for that device.
Choose a source you can already hear through another working playback arrangement. Start with its volume modestly set and identify the hub’s volume control before increasing either. This makes the first listening check easier to interpret than changing several unknown settings at once.
Use the detachable speakers deliberately
Put the left and right speakers on stable surfaces facing the listening position, with usable space between them. The VS-0200 quick-start suggests at least three feet of separation. Arrange the cables so they reach without pulling on the hub or speakers. Judge placement from where you will sit, rather than only while standing beside the equipment.
- Start with a familiar passage. Choose clear speech followed by music with a known stereo arrangement. Keep the same passage for comparisons.
- Confirm both channels. Use an audio source with identifiable left and right cues. Record whether each cue comes from the expected side.
- Compare two positions. Move the speakers while keeping the listening level and source consistent. Note whether voices remain easy to follow and the stereo image is useful at your seat.
- Judge normal listening. Evaluate the volume you expect to use. A brief loud demonstration provides little evidence about a comfortable desk setup.
These are proposed listening checks, not measured performance results for a tested Boom Tube. A surviving unit’s condition and the room both affect the outcome.
Decide what a demonstration proves
For a battery-powered test, record the battery arrangement, start and end times, volume and observed behavior. A short successful test supports that observation; it cannot establish the remaining life of an aging rechargeable pack or a full-day runtime claim. Keep launch prices and advertised runtimes separate from the condition and cost of the particular set offered today.
If essential labels, power specifications or parts remain missing, list those gaps before deciding whether the system fits your intended use. The useful result is a documented, audible two-channel setup with an identified power source.