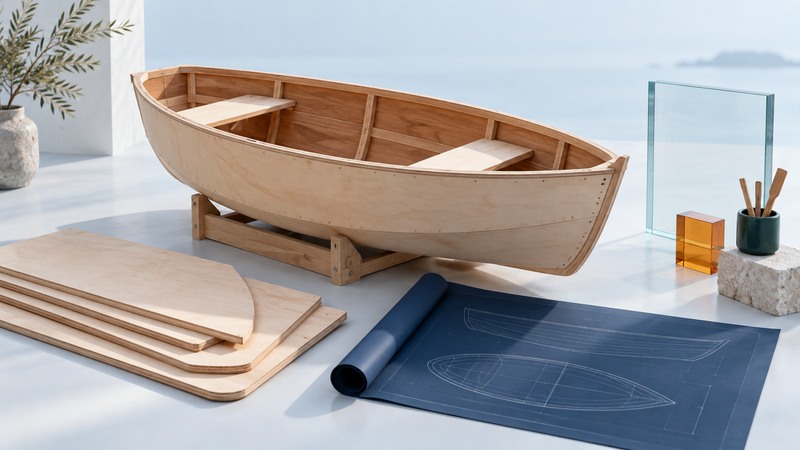
Choose the boat you want to use, then choose a plan package and building method you can carry through to a finished vessel. Check the design’s intended service, the completeness of the instructions and the practical path from your workspace to the water before buying materials.
For prospective amateur builders evaluating plans and kits. Follow the designer’s specifications; structural changes and larger or complex vessels need appropriate professional involvement.
Write a design brief first
Record the intended waters, people, propulsion, carried gear, storage and launching method. Decide whether the project is mainly about learning a craft, obtaining a particular boat or both. A design that you enjoy building should still serve the trips you want to make.
Study the designer’s limits and intended use. Look for documented dimensions, displacement or weight information, load guidance, power or rig requirements and descriptions of the construction method. Ask for clarification where a specification is missing. A photograph of a boat in attractive conditions leaves these questions open.
Try a completed example or attend a demonstration when practical. Check boarding, seating, visibility and handling with a qualified operator. Ask builders about the hard parts, access to materials and finishing work, while remembering that their experience and local prices may differ from yours.
Use Glen-L’s boatbuilding knowledge base to explore methods and terminology, and Chesapeake Light Craft’s getting-started explanation for examples of kit and plywood construction. These suppliers cover different designs; choose a specific supported project rather than combining unrelated instructions.
Find out exactly what the plans include
On a narrow screen, scroll the table sideways. Keyboard users can focus the table and use the arrow keys.
| Package or component | What to establish | Useful question |
|---|---|---|
| Study information | Purpose, dimensions, construction and layout | Can I evaluate fit and feasibility before buying full plans? |
| Construction drawings | Structure, joints, material specifications and assemblies | Does the set cover everything required to build the intended boat? |
| Patterns or offsets | How full-size shapes are obtained | Are patterns included, or must I loft and lay out parts? |
| Manual and sequence | Instructions, photographs and assembly order | Can I preview the manual and understand the next steps? |
| Materials and kits | What is supplied and what must be sourced | Are epoxy, glass, hardware, rig, sails and finishing materials included? |
| Support and permission | Designer support, revisions and build/license terms | Who answers questions and what does purchase authorize? |
Study plans may help you evaluate a design without providing a complete construction package. Full-size patterns can reduce layout work, but confirm which parts they cover and how printed dimensions are verified. Digital files also need the designer’s printing or machining instructions.
Ask whether the materials list represents the whole finished boat or only the basic hull. CLC’s FAQs distinguish kit supplies, tools, workspace and finishing time. Use that distinction when comparing a kit with building from plans: the kit may remove cutting and sourcing tasks while leaving significant assembly and finishing work.
Keep the plan revision and designer correspondence in a project folder. If you purchase an old or partly started project, establish whether its plans are complete, whether build rights transfer and whether changes were documented. Obtain specialist assessment of existing workmanship before budgeting the remaining work.
Match the method to your skills and workspace
Plywood stitch-and-glue, framed plywood, strip construction, composites and metal construction require different tools and processes. Begin by reading the actual assembly sequence. Identify operations you already understand and those that need instruction or professional help.
Measure space for the boat, its building support, access around it and material storage. Check the route through doors and out of the building with the boat at its widest and tallest relevant stage. Plan any turning or lifting with suitable equipment and competent help; a hull that fits inside a room can still be difficult to remove.
Consider power, lighting, dust management and the environmental conditions required by adhesives, coatings or other materials. Read the suppliers’ technical and safety information before arranging the work area. Build test pieces and practice unfamiliar joints or processes under the relevant instructions before using them on the hull.
A smaller supported project can help develop skills before a large cruiser. Choose that progression because it matches your learning goals and available time, rather than assuming that an inexpensive set of plans makes a large boat inexpensive to complete.
Estimate the whole project
Create a cost list from current local quotations. Include plans, materials, shipping, taxes, consumables, tools, temporary supports, coatings, hardware, propulsion or rig, equipment, transport and launching. Keep contingency separate and identify what has been omitted from each supplier’s quote.
Divide time into layout and preparation, hull construction, fitting out, finishing, systems and commissioning. Include sourcing and learning as separate tasks. Supplier build-time estimates need their scope checked: assembly hours and a launch-ready boat are different measures.
Review the budget after obtaining the complete instructions and again after the first major stage. Track actual time and spending against the same categories. A recurring overrun can reveal missing tasks early enough to adjust the plan.
Keep design changes with the designer
Glen-L’s guide to modifying plans explain that allowable changes depend on the design and specifically discourage casually changing beam. A permitted alteration on one plan is not general permission to scale another. Changes to dimensions, structure, engine weight, tank positions or rig can affect several parts of the design.
Send a proposed change to the designer with a clear description and reason. Ask whether it is supported, what drawings or calculations must change and how the finished limits are affected. Save the written response. When support is unavailable, choose a design that already meets the brief or obtain suitable professional design work.
For material substitutions, ask about the required grade, dimensions and properties rather than choosing by appearance or local availability alone. Follow the issued specifications and assembly methods. A forum photograph can be useful context, but it does not establish that a substitute is suitable.
Plan the final checks from the beginning
Contact the relevant boating authority early about identification, registration and any requirements for an amateur-built boat. Ask prospective insurers what construction records or inspections they need. Keep receipts, photographs, material records and approved changes as the work proceeds.
Agree the appropriate completion inspections and commissioning with the designer and qualified specialists. Arrange transport, a suitable launch site, competent help and operating instruction. Resolve defects before expanding the boat’s use.
Keep the initial operating plan within the design’s documented limits and the crew’s experience. Review the beginner boating guide for training and outing preparation. The project is ready for its next stage when the boat, records, support and people are ready together.
Take the worksheet with you
Boat-plan and build-feasibility worksheet — editable plain text. Save a copy, open it in a text editor and fill in the blanks as you collect evidence. Keep unresolved items visible.