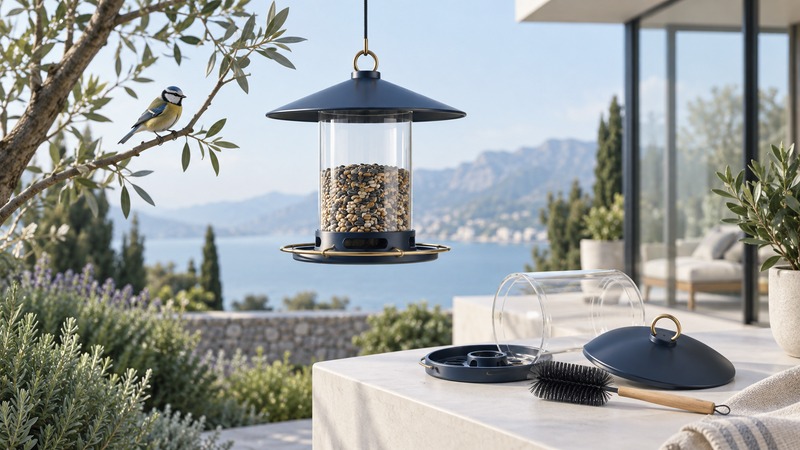
Start with the maintenance you can reliably do. A modest feeder that comes apart easily is a better project than a large feeding station you cannot keep clean. Match food to the birds in your area, check nearby windows, and look for changes in the feeder and the birds each time you visit.
Test access before buying
Ask how the base, ports, roof, and food chamber separate. Check whether a brush reaches corners and whether the parts can dry fully. A “weatherproof” description leaves cleaning access unanswered. For a kit, inspect the assembled joints and materials as carefully as the appearance.
Project FeederWatch’s feeding guidance recommends avoiding wooden feeders because they cannot be thoroughly washed. It advises cleaning seed and suet feeders every week or two, more often in wet weather or heavy use: remove debris, wash with warm soapy water, rinse, and dry before refilling. Clean the area below as well, and wash hands after handling feeders.
Put the cleaning job into a real schedule and assign a person. A second clean, dry feeder can make rotation easier. If the care burden is too high, reduce the number of feeders; native plants are another way to support birds.
Offer a small, purposeful food selection
Identify the birds you hope to feed before choosing a mix. Cornell’s guide to seed types explains why black-oil sunflower suits many seed-eating birds, while nyjer is associated with finches and requires suitable small ports. Seed preference varies, so observe what local birds actually take.
Begin with a quantity you can inspect and replace easily. Keep stored food dry and protected, and check remaining food for dampness or spoilage. Large unused amounts are a signal to reconsider food choice, feeder access, or how much you provide.
Nectar feeders require a different routine. FeederWatch advises cleaning them every couple of days, more often in warm weather or heavy use, and replacing nectar immediately if it becomes cloudy or develops mold. Choose that project only when you can sustain the shorter interval.
Treat the surrounding space as part of the setup
Look at the windows from outside near the feeding area. Reflections and transparent paths can create collision hazards. FeederWatch’s safe feeding environment guidance recommends exterior window treatments such as a dense dot pattern with spacing no greater than two inches, or appropriate external screens. It also recommends keeping cats indoors and reducing unnecessary lights at night.
Check that a chosen treatment covers the relevant glass area; a few isolated decorations leave large apparent openings. Reassess the view as vegetation and lighting change. Feeding success includes the route birds take to and from the station.
Make a short care record
- At each visit: inspect food, moisture, debris, damage, and bird behavior. Record anything unusual.
- At cleaning: note the date, which parts were washed, whether they dried fully, and whether the ground below was cleared.
- After rain or increased use: inspect sooner and adjust the next cleaning date.
- If birds appear ill: check current local wildlife-agency advice and the FeederWatch guidance for cleaning, disinfection, and whether temporary removal is appropriate. Local outbreaks can change the recommendation.
Keep a note of the model, food, cleaning interval, and recurring faults. That small record helps distinguish a one-time wet spell from a design you cannot maintain.