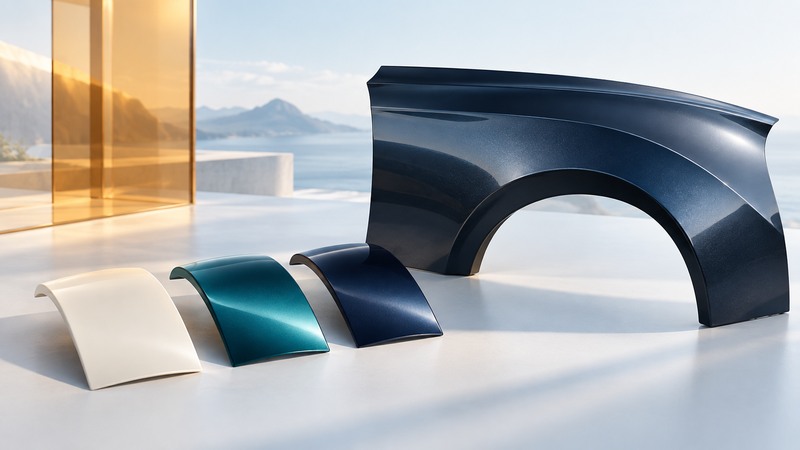
Choosing a paint color and matching an existing finish are related tasks with different starting points. For a purchase, compare the actual finish under useful lighting. For a repair, identify the vehicle’s paint code and let the shop assess the existing panels, color variant and repair method. A name or a screen image gives only part of that information.
Describe the finish you are comparing
On a narrow screen, scroll the table horizontally. Keyboard users can focus its region and use the arrow keys.
| Description | What you may see | Useful question |
|---|---|---|
| Solid color | Color without an obvious metallic or pearl effect | What gloss level and paint system does this exact finish use? |
| Metallic | Visible sparkle and changes in brightness with viewing angle | How does it look across curved panels in sun and shade? |
| Pearl or effect finish | Changes in tone, depth or reflection from effect pigments | Is this a multi-stage system, and how does the shop match it? |
| Matte or satin | Lower sheen than a conventional gloss surface | What finish-specific cleaning and repair methods are required? |
Marketing names can combine several effects. Ask for the exact finish description and care instructions; the color name alone does not specify the number of paint layers or the repair process. PPG’s refinish guides and manuals include separate blend and multi-stage repair resources, illustrating why a professional needs the actual paint system before planning a repair.
Compare a physical sample in several conditions
- View a clean sample or actual vehicle in daylight, then in open shade. If indoor lighting matters to you, compare it there as well.
- Look straight at the panel and from an oblique angle. Curved panels can show different light and dark regions even with the same paint.
- Stand back to assess the whole vehicle, then inspect close up for the effect and surface texture. Keep the viewing conditions similar between candidates.
- Record the exact paint name, code if available, trim and lighting. Treat phone photos as reminders rather than color standards.
For a new vehicle, ask to see the finish on an actual car if the small sample leaves you uncertain. For a used car, compare adjacent panels and ask about any apparent difference; differences can have several causes and deserve a shop’s assessment. Personal preference, care requirements and a current repair quote are more useful decision inputs than assuming a popular color guarantees resale value.
Find the paint code and preserve the context
Use the vehicle manufacturer’s instructions to locate the code or have a dealer identify it from the vehicle record. For example, Ford Australia’s paint-code support page directs owners to dealership assistance. Locations and lookup methods vary across manufacturers and markets. Keep the code separate from the marketing color name, interior trim code and any second color on a two-tone vehicle.
Give the repairer the year, model, code, damaged panel and known previous paint work. A replaced or repainted panel may differ from the factory record. Photograph the damage and adjoining panels in ordinary light with permission where needed; avoid filters. Record any protective film, coating or decal that may affect the repair scope.
Ask how the shop will select and verify the match
A paint code narrows the search, while the existing finish provides the target. The shop may compare color variants, use a measuring instrument, prepare a sample and assess it against the vehicle. PPG’s digital color-tools overview describes spectrophotometers and software used in color identification. Those tools support the technician’s process; ask how the selected match will be checked on this job.
Ask whether adjoining panels need blending and why. Blending transitions color into a neighboring area to make a visible change less abrupt; the appropriate boundaries and clearcoat procedure depend on the paint system and repair. Have the shop explain which panels, trim removals and related work appear in the estimate. This is a discussion guide, not a mixing or spraying procedure.
Agree on the finished result and care
Before authorization, ask about the paint system, preparation, color verification, expected completion, warranty and any exclusions related to prior repairs. Discuss how you will review the car at collection, ideally clean and in more than one useful lighting condition. Note unresolved differences with the shop and keep the invoice and finish information for future work.
Obtain written aftercare instructions for washing, polishing, coatings or protective film, including any waiting periods for that repair system. Matte and specialty finishes may require different care from gloss paint; follow the exact instructions. If you are still choosing a new-car color, include this care burden and any verified price difference alongside how the finish looks.
Save a practical worksheet
Download the auto paint colors worksheet (plain text). Open it in any text editor, save a private copy, and fill in the prompts while you work. It includes the article link and supporting references. Record “unknown” when a question still needs evidence.